NVIDIA GPU Cloud (NGC) is a deep learning ecosystem that is developed by NVIDIA. NGC allows you to access deep learning software stacks for free and use the stacks to build development environments for deep learning. This topic describes how to deploy an NGC environment on a GPU-accelerated instance. In the example, the TensorFlow deep learning framework is used.
Background information
To use the NGC deep learning ecosystem, Alibaba Cloud provides NGC container images that are optimized for NVIDIA Pascal GPUs in Alibaba Cloud Marketplace. You can use the NGC container images to quickly deploy NGC container environments and instantly access optimized deep learning frameworks. This way, you can develop and deploy services, and pre-install development environments in an efficient manner. The NGC container images also support optimized algorithm frameworks and constant updates.
The NGC website provides various image versions for mainstream deep learning frameworks, such as Caffe, Caffe2, Microsoft Cognitive Toolkit (CNTK), MXNet, TensorFlow, Theano, and Torch. You can select an image based on your business requirements to deploy an environment.
Procedure
You can deploy an NGC environment on an instance that belongs to one of the following instance families:
gn5i, gn6v, gn6i, gn6e, gn7i, gn7e, and gn7s
ebmgn6i, ebmgn6v, ebmgn6e, ebmgn7i, and ebmgn7e
Before you deploy an NGC environment on an instance, make sure that an NGC account is created on the NGC website.
This section describes how to create a GPU-accelerated instance and deploy an NGC environment on the instance. In this example, a gn6i instance is created.
Create a gn6i instance.
For more information about how to create an instance, see Create an instance on the Custom Launch tab. The following table describes key parameters.
Parameter
Description
Region
Select a region. Valid values: China (Qingdao), China (Beijing), China (Hohhot), China (Hangzhou), China (Shanghai), China (Shenzhen), China (Guangzhou), China (Heyuan), China (Chengdu), China (Hong Kong), Singapore, US (Silicon Valley), US (Virginia), Germany (Frankfurt), Japan (Tokyo), and Malaysia (Kuala Lumpur).
Instance
Select an instance that belongs to the gn6i instance family.
Image
On the Marketplace Images tab, click Select Image from Alibaba Cloud Marketplace (with Operating System).
In the Alibaba Cloud Marketplace dialog box, enter NVIDIA GPU Cloud Virtual Machine Image in the search box and click Search.
Find the image that you want to use and click Select.
Public IP Address
Select Assign Public IPv4 Address.
NoteIf you do not select Assign Public IPv4 Address, you can associate an elastic IP address (EIP) with the instance after the instance is created. For more information, see Associate one or more EIPs with an instance.
Security Group
Select a security group. You must enable TCP port 22 for the security group. If your instance is required to support HTTPS or Deep Learning GPU Training System (DIGITS) 6, you must enable TCP port 443 for HTTPS or TCP port 5000 for DIGITS 6.
Use one of the following methods to connect to the instance.
Method
References
Workbench
Virtual Network Computing (VNC)
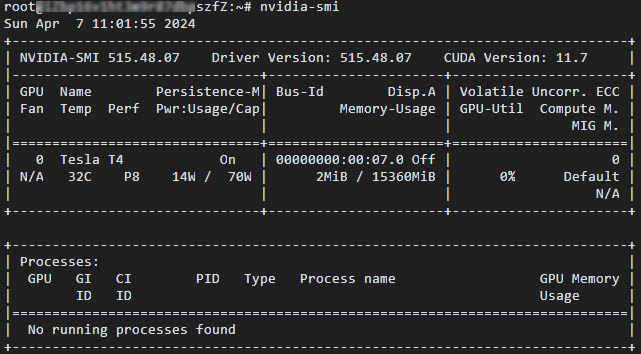
Run the
nvidia-smicommand.You can view the GPU information about the instance, such as the GPU model and driver version. The following figure shows the GPU information.
Obtain the path of the TensorFlow image.
Log on to the NGC website. In the left-side navigation pane, choose .
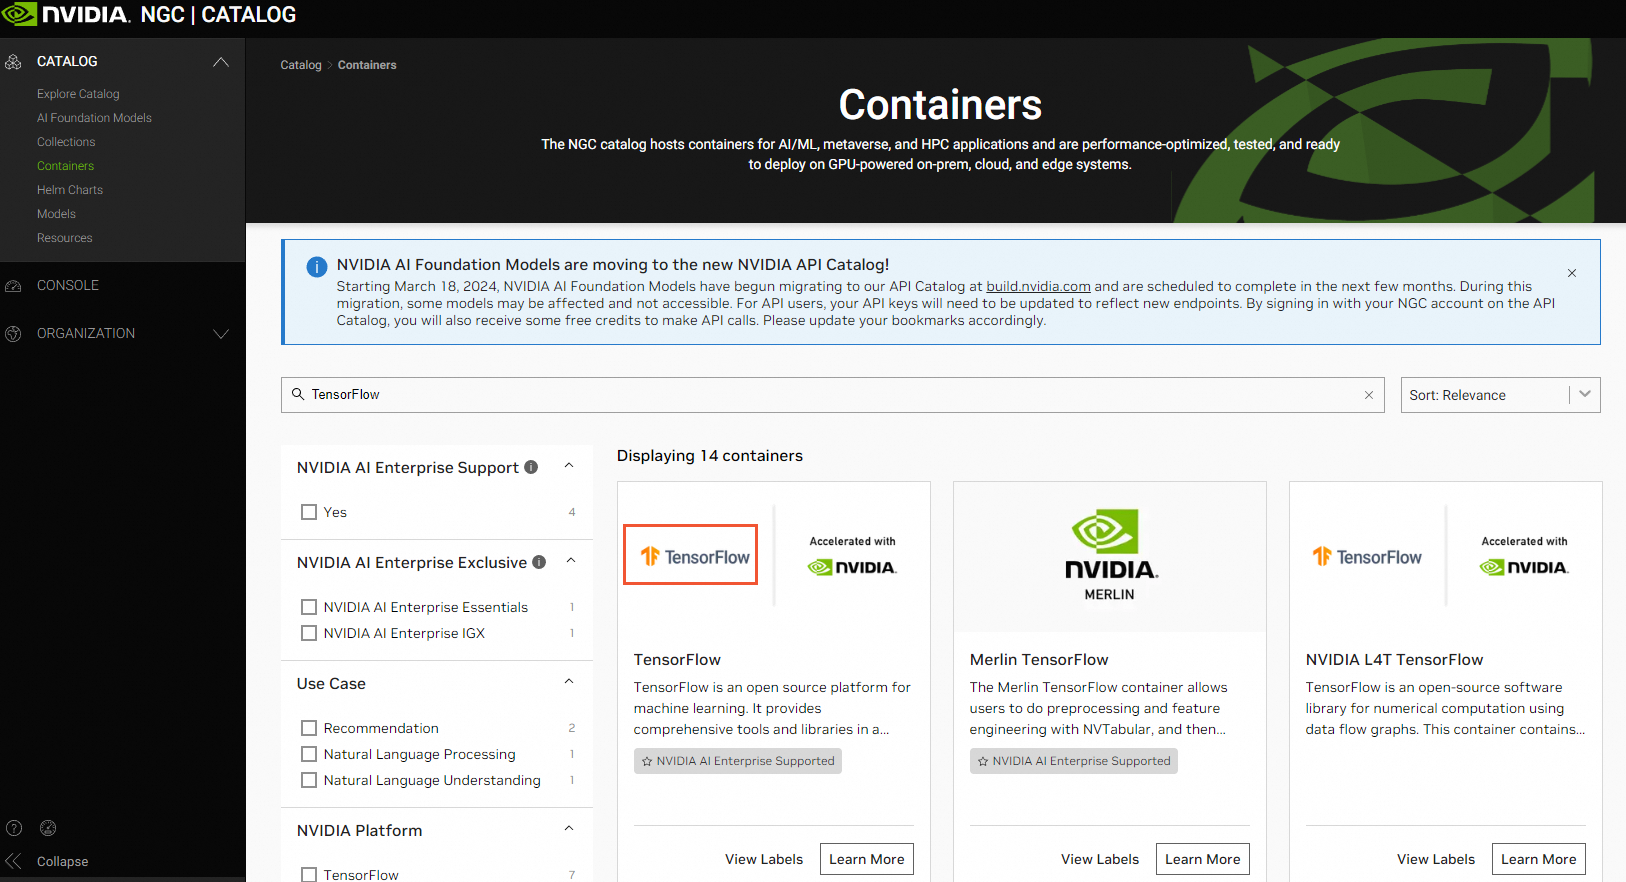
On the Containers page, enter TensorFlow in the search box. Find the TensorFlow card and click TensorFlow.
On the TensorFlow page, click the Tags tab. On this tab, find the TensorFlow image version that you want to use and copy the image path.
In this example, the TensorFlow image whose version is
20.01-tf1-py3is downloaded. The nvcr.io/nvidia/tensorflow:20.01-tf1-py3 image path is copied.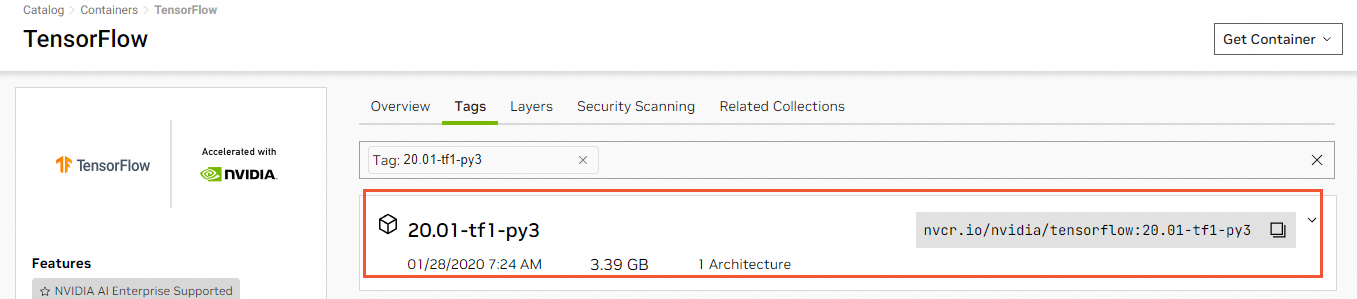
On the logon page of the GPU-accelerated instance, run the following command to download the TensorFlow image of the desired version:
docker pull nvcr.io/nvidia/tensorflow:20.01-tf1-py3ImportantThe download task may require a long period of time to complete.
After the TensorFlow image is downloaded, run the following command to check the TensorFlow image:
docker image ls
Run the following command to deploy the TensorFlow development environment by running the container:
docker run --gpus all --rm -it nvcr.io/nvidia/tensorflow:20.01-tf1-py3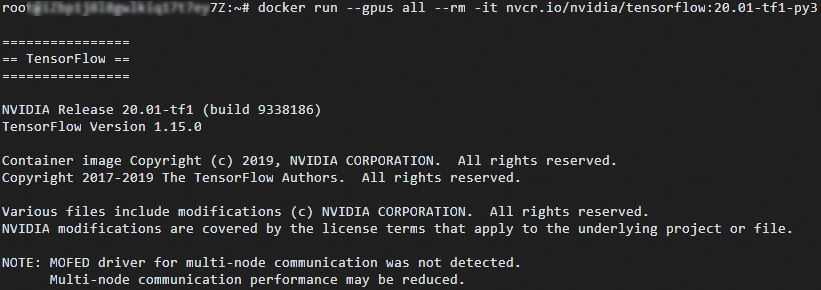
Run the following commands in sequence to run a simple test for TensorFlow:
pythonimport tensorflow as tf hello = tf.constant('Hello, TensorFlow!') with tf.compat.v1.Session() as sess: result = sess.run(hello) print(result.decode())If TensorFlow loads the GPU device as expected, the
Hello, TensorFlow!result appears. The following figure shows an example.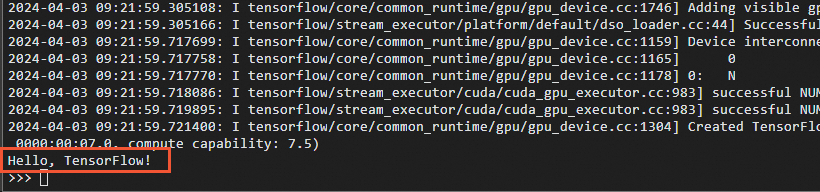
Save the modified TensorFlow image.
Run the following command to query the container ID that is specified by
CONTAINER_ID.docker ps
Run the following command to save the modified TensorFlow image:
# Replace CONTAINER_ID with the container ID that you queried by running the docker ps command. Example: 619f7b715da5. docker commit -m "commit docker" CONTAINER_ID nvcr.io/nvidia/tensorflow:20.01-tf1-py3ImportantMake sure that the modified TensorFlow image is properly preserved. Otherwise, the modification may be lost the next time you log on to the instance.