In the MaxCompute Resources pane, you can view the resources in your MaxCompute compute engine and the resource change history. You can also add resource files to workflows in the Scheduled Workflow pane with simple operations.
Limits
You can use only the MaxCompute client odpscmd to upload a resource file of 200 MB or less in size to a workflow in DataStudio. This way, you can manage and use the resource file in DataStudio in a visualized manner.
View resources
Go to the DataStudio page.
Log on to the DataWorks console. In the left-side navigation pane, choose . On the page that appears, select the desired workspace from the drop-down list and click Go to DataStudio.
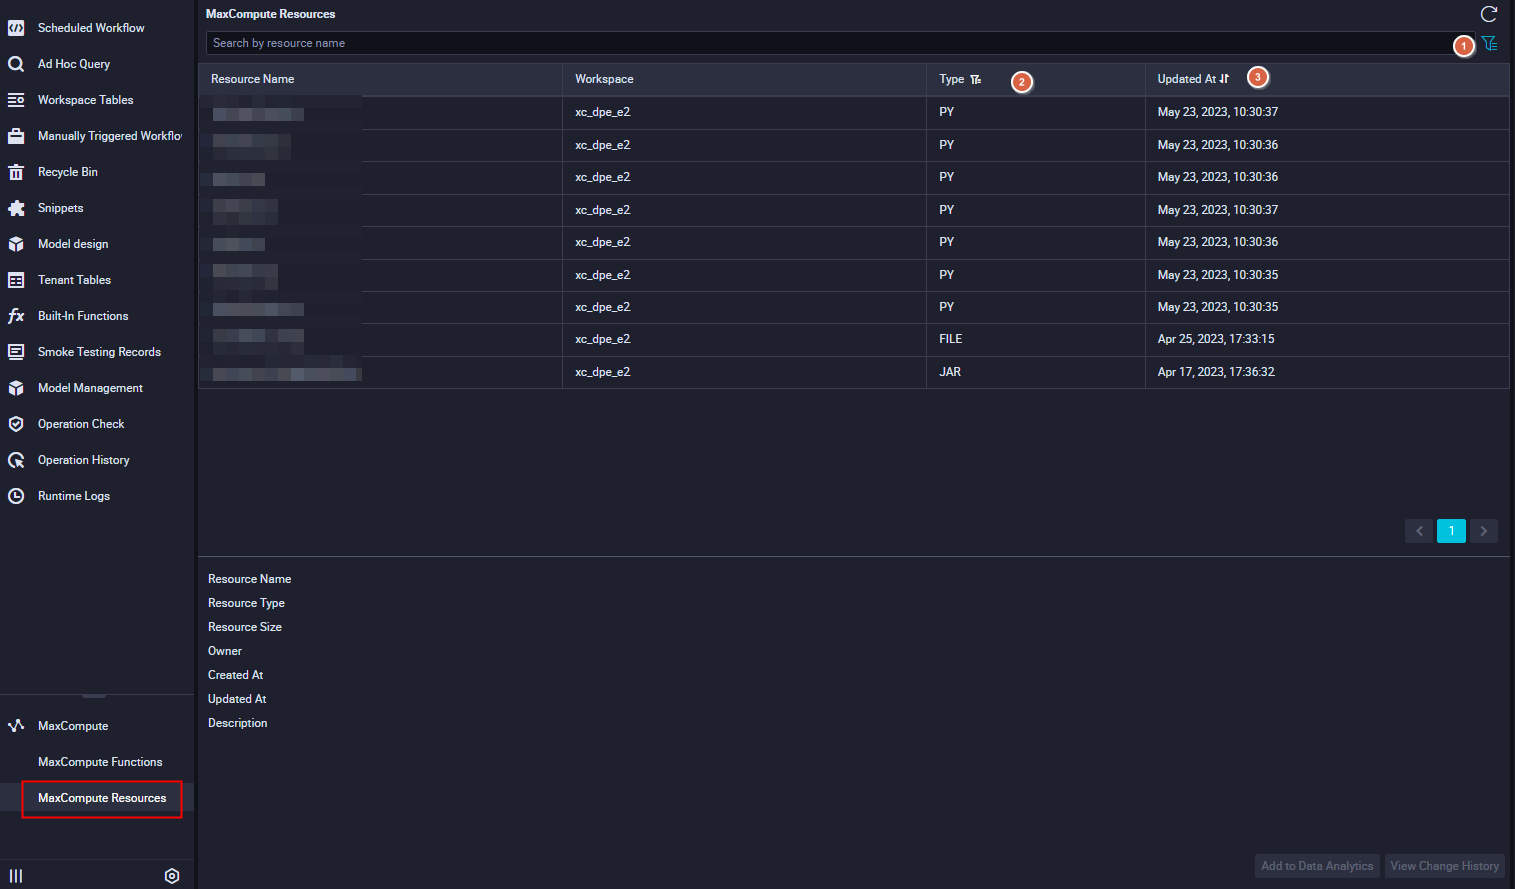
In the left-side navigation pane of the DataStudio page, choose MaxCompute > MaxCompute Resources.
No.
Icon
Description
1

By default, the MaxCompute Resources pane displays only resources in the production environment. To view the resources that are committed but not deployed, click the
 icon to switch the environment.
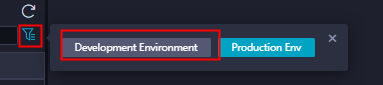 Note
NoteFor workspaces in basic mode, only the production environment is supported.
2

Click this icon to filter resources by type.
NoteJAR, Archive, File, and Python resources are supported.
3

Click this icon to switch the order in which entries are sorted. By default, entries are sorted in descending order of update time.
Click a resource to view its details, such as the name, type, and size of the resource.
Resources that are displayed in the MaxCompute Resources pane may be different from the resources that are displayed in the Scheduled Workflow pane.
When you create a resource in the Scheduled Workflow pane, you must perform the following steps to display the resource in the development or production environment of the MaxCompute Resources pane: In the Create Resource dialog box, select Upload to MaxCompute. Then, commit or deploy the resource.
Resource files that are uploaded by using tools other than DataWorks, such as the MaxCompute client and MaxCompute Studio, are not displayed in the Scheduled Workflow pane. These resource files are displayed in the MaxCompute Resources pane. Resources may require a period of time to display in the MaxCompute Resources pane. We recommend that you run commands to query required resources. For more information, see Appendix 1: Perform operations on resources in a data source by using commands.
The following table describes the scenarios in which the resources in the MaxCompute Resources and Scheduled Workflow panes can be used.
Scenario
Scheduled Workflow pane
MaxCompute Resources pane
Run tasks on an ODPS SQL node
Supported. The resources must be uploaded to MaxCompute.
Supported.
Run tasks on an ODPS MR node
Supported. The resources must be uploaded to MaxCompute.
Not supported.
Run tasks on an EMR Shell node
Supported.
Not supported.
Run an ad hoc query
Supported. The resources must be uploaded to MaxCompute.
Supported.
Create a function in a workflow
Supported. The resources must be uploaded to MaxCompute.
Not supported.
Add a resource to the Scheduled Workflow pane
Find the required resource and click Add to Data Analytics.
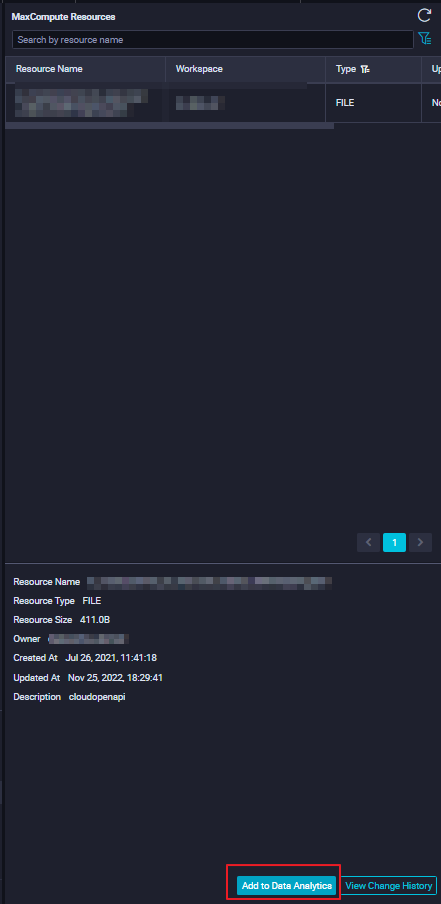
This operation allows you to quickly synchronize resource files in the MaxCompute Resources pane to a workflow in the Scheduled Workflow pane.
In the Create Resource dialog box, configure the Name and Path parameters, click Upload, and then select the resource file that you want to upload.
You can perform the following operations during the upload:
Rename the resource.
Select a destination folder to change the workflow in which the resource resides.
You cannot perform the following operations during the upload:
Change the resource type.
Select or clear Upload to MaxCompute.
Reupload the resource file.
After the configuration is complete, click Create. Then, the resource is created.
NoteAfter you create a resource, you must manually save, commit, and deploy the resource. The operations are the same as the operations that you must perform when you create a resource in a workflow. For more information, see Create and use MaxCompute resources.
When you commit and deploy a resource, the resource is uploaded to the development and production environments of MaxCompute. The resource is also displayed in the MaxCompute Resources pane.
Due to the uniqueness of resources in a MaxCompute project, if the resource that you want to create in a workspace has the same name as an existing resource in the workspace, the newly created resource overwrites the existing resource. If the existing resource resides in a different workflow, the resource is overwritten in the new workflow.
View the change history of a resource
Click a required resource and then click View Change History to view the creation and change records of the resource.